


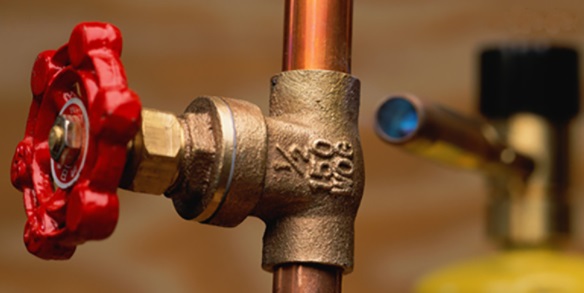
You have to trust us when we say that a local water supply shutoff valve is considered as your friend and knowing the types of water shutoff valves can help you at home. You will understand it when you have to change the faucet or repair the toilet and then discover that the plumber, give no way to closely shut off the water to the plumbing fixture.
However, local shutoff valves may also be the maintenance issue. The older valves, particularly the cheaper one multi-turn valve may leak if you go in shutting them off right after the long time of use.
The primary time you go in a plumbing store or by the big box house repair store to purchase the shut-off valve you will be faced with the seemingly endless choices. And so it is best to understand the different kinds of valves that can be availed and how to choose the appropriate kind of valve for the kind of water supply lines you had in your house.
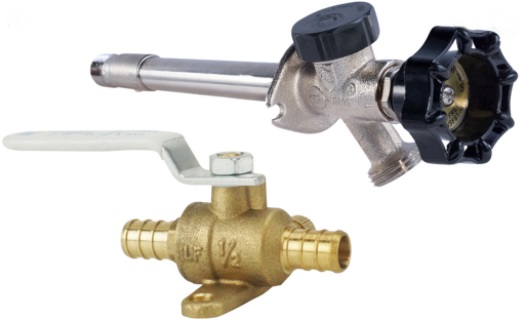
The shut off valves had been named as the ‘stop’ valves and it comes in 2 versions; the ‘Angle’ (90-degrees bend) edition and the straight ‘Stop’ version. The image of the quarter turn valve and the multi-turn valve look similar, however, you will see the difference in a valve neck/stem area.
Aside from the angled and the straight version of a valve stop, a multi-turn and a quarter alternatives within the valve itself, there’d been a variety of the water supply line alternatives that affect the kind of valve you have to buy.
Here are the common valve stops that you may find:
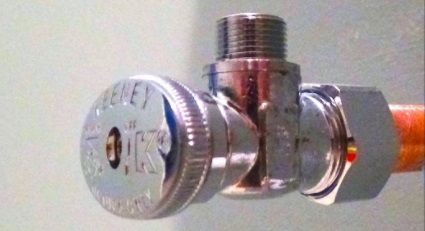
The compression fit stop valve is used with PEX and copper water supply line. It comes in quarter turn and multi-turn options.
This multi-turn valve stops are marginally affordable than the quarter turn valves and are made with the compression washers and the plastic stems. It requires some more turns of a stem to shut-off that water flow. When the valves are getting older and are fixed at the ‘on’ place, they seemed to leak when really used in shutting the water-supply off.
These quarter-turn valve stops are slightly more costly than the multi-turn valve, however, are better made and much more reliable. This uses the positive action ball valves in control the water flow and shutting water on and also off with the quarter turn valve handle. Very problem free, and very reliable and for the price differences, we do not know why anybody would buy the multi-turn valve, and both these valves have been readily available in any hardware stores.
The PEX or the copper water supply line may have the compression nut initially fitted above a supply line and the copper compression sleeve can slide above a supply line. The sleeve is being compressed by a compression nut as a nut is being tightened to stop valve.
If choosing the proper supply line sizes for its fitting you have to be attentive of the term being used to illustrate an inlet size. This term is the NOM Com or the ‘Nominal Compression’ sizing.
This NOM term pertains to the construction trade dimension conversion of the copper pipe’s inside the diameter (ID) and the outside diameter (OD). And so the 5/8″ copper pipe OD can have the 1/2″ ID. The 1/2″ COM fit is sized for the 5/8″ OD pipes.
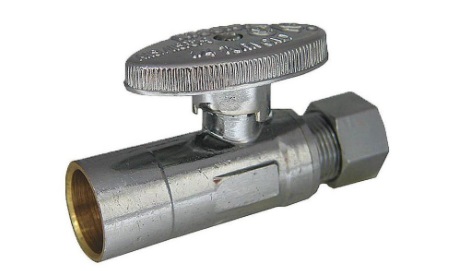
The sweat fitting water shut-off valve is designed to become useful as one non-leaking, non-removable connection to the copper water supply lines. The sizing of water supply lines had been COM dimensions also where the 1/2″ COM fittings are sized for the 5/8″ OD pipe.
The fittings require some of the skill when installing as they should be soldered onto a copper pipe and can require the propane torch, copper tube cutter, emery cloth sandpaper, solder, and flux.
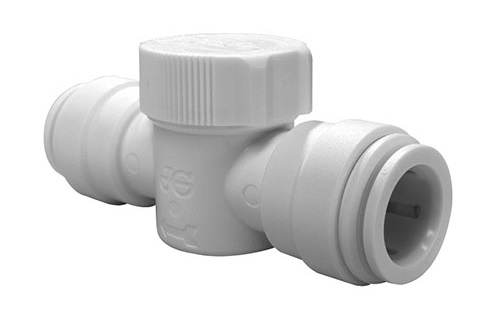
The push-fit valve stop is the latest technology that you can avail and are the simplest to install and also the most versatile. It used to be expensive, but you may take the press-fit shut-off valves for an almost similar price as the normal quarter-turn compression valves.
The valves can work with PEX, even CPVC and copper pipe water supply lines. It can be installed simply, just make sure the square cut on a supply line and then press on.
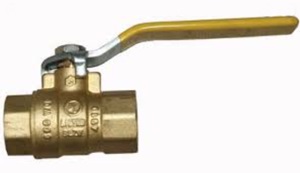
The female iron pipe or FIP shut off valve is used with the threaded galvanize steel pipes water supply line. It is requiring the pipe thread compound that will simply screw off and on a supply pipe.
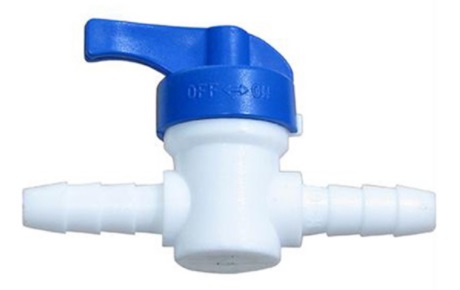
The barbed water shut-off valve is the kind of valve being used with the PEX water supply tube. PEX can also use the compression fitting that allows standard tools for the installation. The barbed fitting can require the crimp ring and the exclusive crimping tool to overall the PEX connection.
Related post:
7 Insider Tips That You Need When You Are Hiring Your Residential Plumber Within A Budget
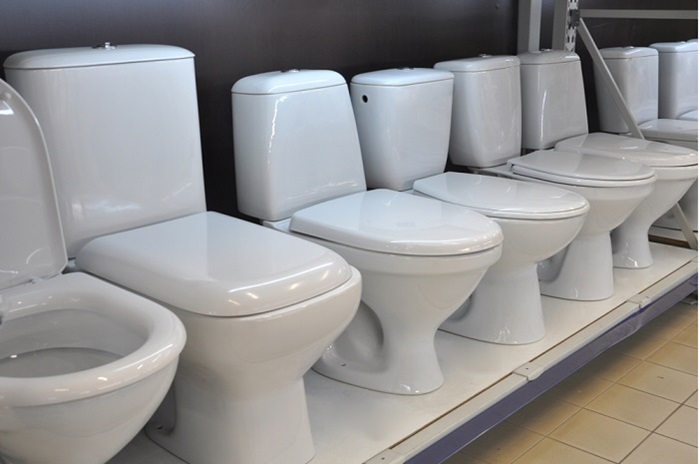
Depending with the present conditions of your house and your choices, there are quite some of the different types of toilets to take into consideration before your final choice of the unit. The procedure could easily become crushing. So we have the listed of the most preferred types of toilets.
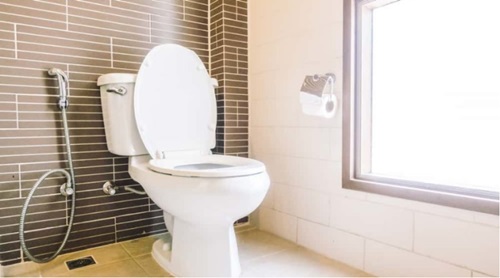
This toilet eliminates the need to drill holes into the bathroom floor and to install complex plumbing systems. Practically, they are totally mobile and will fit anywhere in the property.
The basic difference between the standard fixtures and the upflush toilets is a discharge method. The mechanism consisted of the macerator toilet unit with the small pipe. A macerator processes the solid materials such as toilet paper and human waste. The resulting combination of flush water and materials moves by the upward pipe to the sewage. A discharge pipe that is as little as 3/4″ across solved lots of structural problems. The well slurry, transferred by the pump, goes by the sewage system, holding tank or the septic tank.
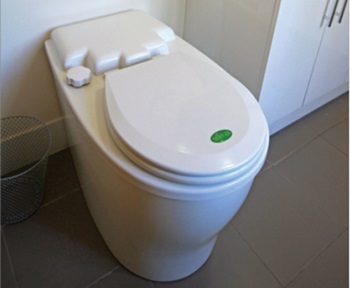
The toilet does not use any water when flushing. A composting toilet in its nature, the waterless toilet and this is very suitable for places with underdeveloped infrastructure, water or environmental deficiency problems.
The waterless toilet is not that famous among households however are frequently utilized at workplaces and the outdoor event sites and camping areas.
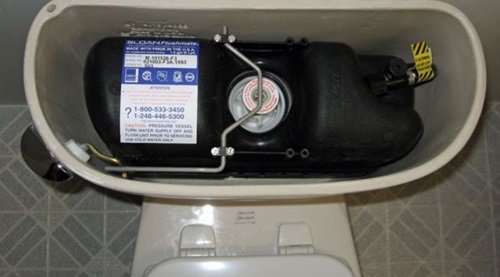
The biggest advantage of the pressure-assist toilet has been the powerful flush. A mechanism uses the pressurized air in forcing the water into a toilet tank. It means almost no duo flushes. Pressure assisted the toilet is fitted for households with lots of members, where a toilet is being used more regularly. There is a disadvantage to take consideration though – they’re noisy.
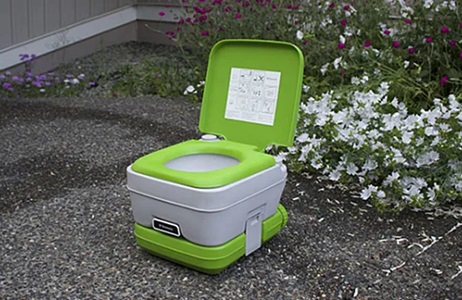
These types of toilets had been small toilets that will be simply transported from a place to another. These are the best for camping, festivals, hiking and with some other outdoor tricks. You can carry the tiny portable toilet simply and make your part in maintaining the surroundings protected and clean.

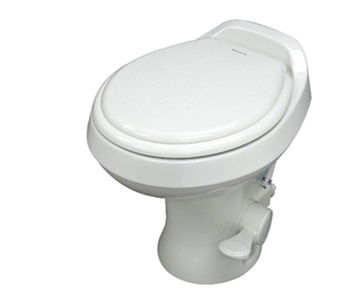
The gravity-flush toilet I usually used in domestic property all throughout the world. A toilet tank is holding the water which dropped into a bowl the moment that you press a flush button. Its water then pushed every waste through a trap way. The gravity-flush toilet is silent, had fewer parts, and had extremely easy maintenance through the years. It is no wonder that they had been a huge hit over the market. With just one of these, then, you almost never had the clogged toilet that you can deal with.
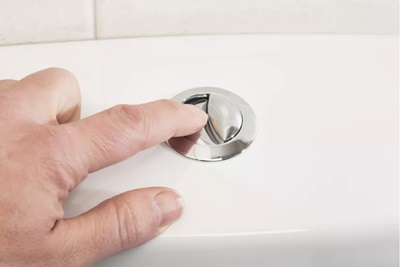
As its name suggests, they had two flushed button options – the half flush and the full flush. This half flush had been used for the liquid waste, while the full flush is being used for the solid wastes. One of the best benefits of the dual-flush toilet will be the water efficiency. The price is higher, but, they must be good for your budget and the environment. Lots of countries have adopted the kind of toilet that can deal with the shortage of water.
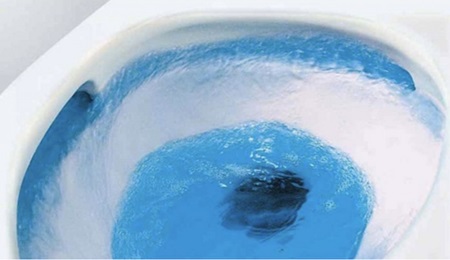
The double cyclone flush toilet is the latest alternative that you can see in the market. These are using lesser water in every flush while having that similar power as the full flush. Even though not as the water-efficient as the dual-flush toilet, they are still being considered as an eco-friendly one. Buying one most will definitely have that positive outcome on the monthly water bills.
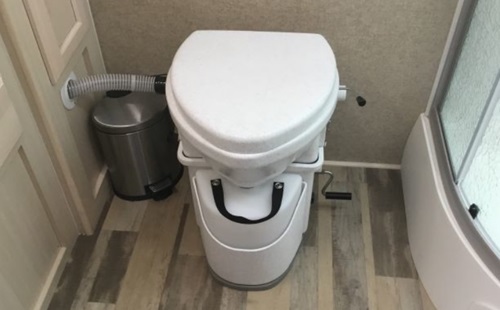
Its biological procedure named as composting treats human wastes, and that is where this kind of toilet got its identity. Most of the toilets use bulking resources like wood chip, sawdust, coconut coir, or the peat moss after every use.
When the human waste is composted properly, the final product is easy and safe to handle, there’s no foul odor and every liquids evaporates. The compost works really well on the plants, decreasing the need for the commercial fertilizers and also preserving the local water quality. Maintained and used correctly, composting toilets will be an elegant add-on to the modern bathroom.
Suggested articles:
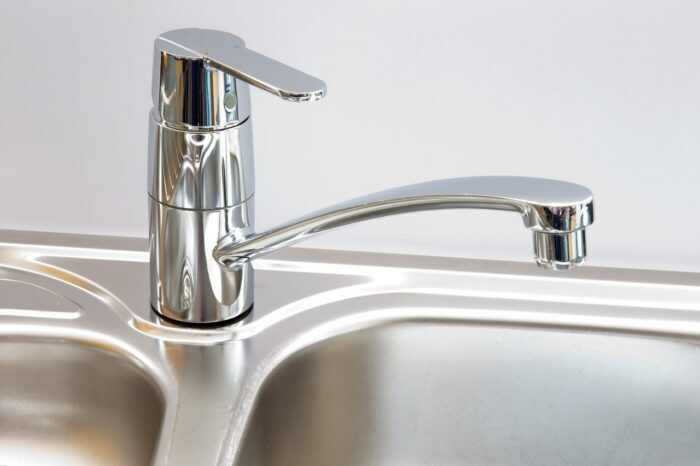
Below is the detailed information about how you can change the kitchen tap.
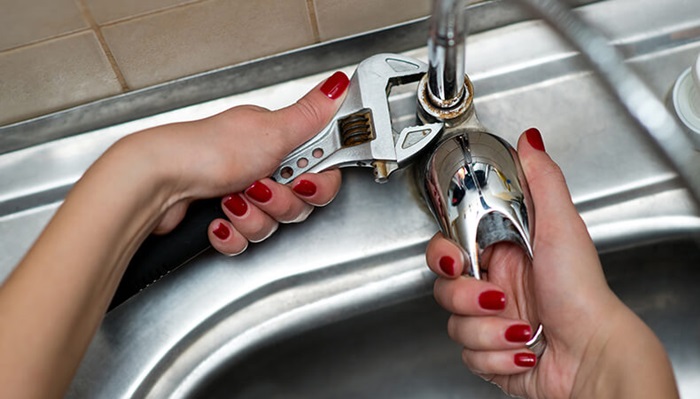
In turning off the supply of water to change the kitchen tap, you have to situate the isolating valves of the supply system of the pipe. You may locate it fitted at the hoses’ outputs. Turn the valve now with only a quarter in turning off the water. Also, try streaming the water to witness is you have turned it off correctly. If the system does not have the independent isolation valve, turn off your water supply from its main stopcock. The moment that you are 100% sure that there’ll be no circulating water, then, you may proceed to its next level.
Lay the towel beneath the sink and then prepare every instrument you’re planning to use. When you still have the old kitchen tap manual instruction guide, keep it near. You will need to have a look of it while you’re trying to take out that old tap.
There are 2 kinds of connections of the water pipes–flexible and standard. When you have the standard hose method, loosen up a screw which is connecting the joints to a pipe with an assistance of the open-handed spanner. Most of the water will come out the moment that you have disconnected a tap. For the flexible pipe connections, you have to unlock the nuts wherein they join its main pipe connections or the fitted isolator valves. When you are doing this, use the pair of modifiable pliers to maintain the connection or the valve into place. Take note that you can have the hard time loosening a nut, since they can get stiffed over time.
It is now time to take away the tap. Start through loosening the nuts which will keep the tap connected to the facade. Grab the tap, then, secure it in place. Be sure it does not rotate as you’re trying to unscrew a nut. The thought is by taking it out from the stud, and so you may be able to detach the tap together with those flexible hoses. Be very careful when taking out the said hoses, particularly when they’re stainless steels. You do not want to hack yourself on a pointy, sharp edge. Once you have removed everything, then, take the time in cleaning any nasty residues or buildup from an open main pipe connections beneath the sink or basin.
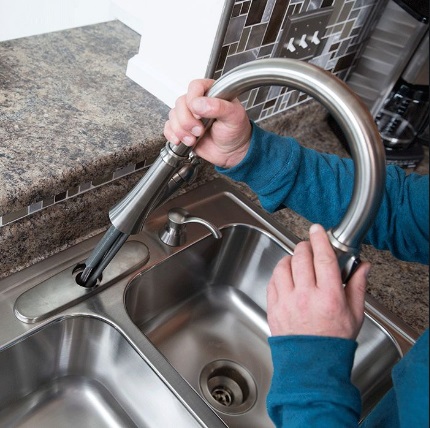
Clean your old surface where the old kitchen tap has been used to be. There are some build-ups that can be harder to take out, remove, and so have all the time. Do not use any harsh brushes or chemicals, so you do not damage the area.
Installing the kitchen tap has been easier than taking it out. So, if you have bought the normal individual bridge or the pillar combination one, then, you must apply about five layers of the PTFE tape into the mains link lower threads beforehand. Drape a tape in the clockwise way to secure it in the right way. The moment it is done, you may fit the new tap. Lots of models come with the pre-fitted hoses, then, if yours are not, grab a manufactures’ manual then connect them by yourself. Feed the mains link hoses by the hole you have made for the former tap. You can take someone to assist you out through holding a tap into the place. It should not rotate as you’re handling the hoses beneath the sink. Lastly, screw the retaining nuts by hand and then secure it tightly by the similar pair of bending pliers you used in removing the old unit. When you suspect that the new unit is really heavy for the sink, better install the tap brace. It is an additional, small investment that reserves lots of trouble.
Since you are close to the final line, to reconnect the mains source, begin the threads through hand to evade cross-threading. Lots of tap units had the thread length standard together with the present connection alignment assured. And so, when you have started the thread, tightened it, but do not overdo it. Coil-in the connector nut to the pipe connections of the mains or the fitted isolator valves. And then tighten it again with the bendable open-ended spanner. Be certain when holding on to a connector or valve in eliminating the excess pressure.
For that you have installed everything, it is time to switch on the supply of water. All you need to do is to adjust an isolating valve to the original position or in turning on the water coming from the stopcock. Experiment the tap by switching it on and then check the hose for drips and leaks. When all is fine – you’ve change the kitchen tap successfully!
Suggested article:
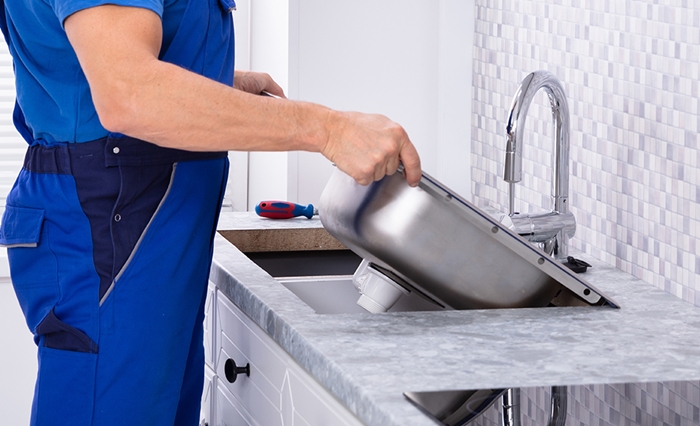
Replacing the kitchen sink is really straightforward, but also this is a time-consuming job. There are sinks with all the sizes, shapes and materials, where some of it is trickier to perform with than the others.
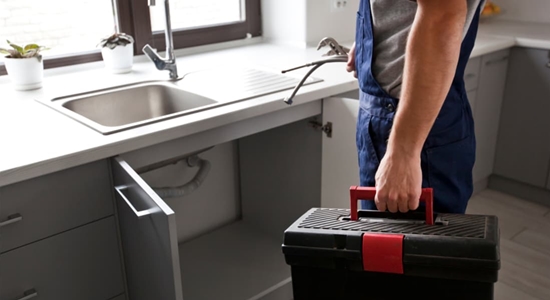
On the average, for the standard kitchen sink, it will take the professional installer between 2h and 1,5h. However, there are some factors that came into play together with this task in your hand. An example is how easily an old sink is being taken out, whether the pipes needed to be changed as well and how much work that they needed on the hole.
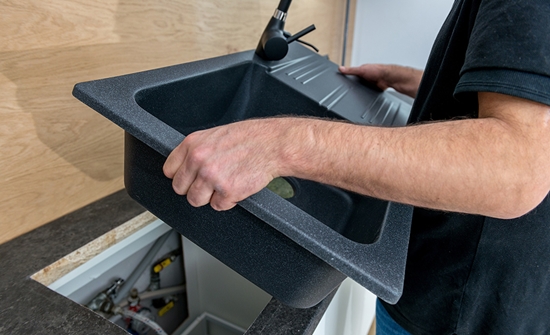
The primary step to replace the kitchen sink is just to take out the old one. The task needs to be controlled gingerly, so that you will not damage a new sink or a countertop. If you are not 100% sure with your DIY plumbing knowledge, it is advised that you call the professional plumbing service giver and let them change your sink.
Tip: Before disconnecting the pipes under your sink, take a picture, so you will have it simpler when you install a new unit.
Equipment and other tools you will need:
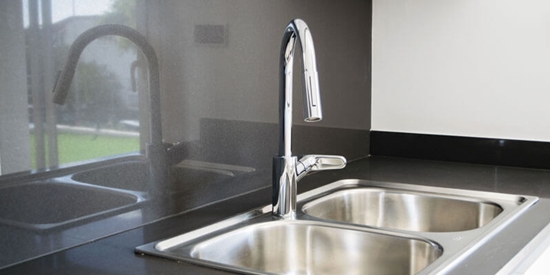
In removing the kitchen sink, initially, stop both the hot and the cold water supply to your sink. Then use an adjustable wrench in disconnecting the drain pipe and the supply lines which are connected to the drainage system of the house.
It is likely that sum total of water can be left within the pipes, and so drained them really well. Place the bucket under your sink and allow the water to run. When there is nothing left, switch off the tap, then take out the bucket.
When you have the garbage disposal beneath the sink and the dishwasher, disconnect them too. If you have the water filtration system, cut off it from a tap, too, in doing so for either of the appliances, you will then want to check the instructions first.
Tip: When you are separating any kind of appliance, keep the bucket and the rag nearby since there can be leaks.
When you have not done this already, then, today is the time. Disengage the drain pipe and the p-trap pipe from underneath your sink. Also, be to take out any other parts of the kitchen sink before going on with the changing of your kitchen sink.
You need to unscrew its metal clips. They’re situated under the sink for mutually under-mount and top sinks. After you take out the clips, you have to cut a caulk. The variation in between the 2 kinds of sinks is the location of the caulk. For the under-mount sinks, it is situated under the sink where its metal clips are, wherein, for the top-mounted sinks, it is over the top where the broader part of a sink met the counter.
If you are finished with the cutting of caulk, remove a sink and then scrape off that remaining caulking and cleaning of the worktop.
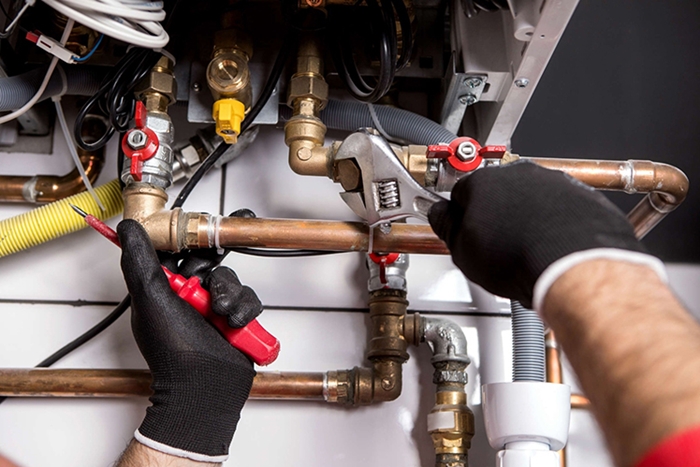
When you think that something weird is occurring with the boiler or you had been hearing uncommon or strange sounds coming out of it, the cause could be what had been called as boiler kettling.
Do not worry if you have never heard this word before or are not sure what it really means, our team is here to explain this all to you.
The boiler that is making some noise like with the kettle, or either like with the mix of whistling, rumbling, bubbling, and popping usually heard while the appliances are working. It is happening when something inside the boiler is slowing down or intruding the flow of the process. The water inside the boiler must not get to a hundred degrees Celsius and should not boil, because if this will happen and the water is boiling, you will begin hearing the sounds.

Most, if not totally all, the modern boilers have their built-in safeguards that are supposed to identify overheating and so switch off the system to become your preventative measure before it begins kettling.
When you have your old boiler that is making strange noises, you better switch it off. When it reached the kittling stage, it has the possibility to be hazardous, since theoretically, its high internal pressure would cause its internal pipe to burst, which will lead to steam emissions or electrical hazards.
There have been some causes why the boiler makes the kettling sounds. There are some that are just some that are simpler to fix when compared with the others, but whatever the cause maybe, you have to transact with it immediately. You must look for the trusted company for such emergencies like the boiler repairs in the best possible time.
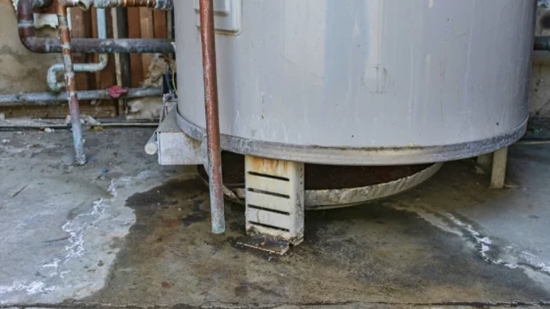
1. The leak in a boiler system – one of the most common problems that cause the boiler to make that whistling sound is that the central heating system is leaking. You need to look carefully and find out where your boiler leak is coming from, since it may be on any side of your system, even those hard-to-spot areas. Also, do not forget to examine the pipeworks and the radiators all throughout your house.
There are different causes for the boiler leak and the most common had been poorly installed pipeworks, corrosion that typically comes with over-pressurisation and older units and others.
2. The system is overheating – when there are zero leaks, the cause for the kettling sounds can be the overheating boiler. This could be due to wrong thermostat settings or overall, there is a malfunctioning thermostat. Whatever the cause will be, the water in the boiler is really hot enough to switch into steam, and that is what makes an odd sound.
3. Limescale and mud build-up – the build-up of limescale is the third ordinary reason for the boiler to make that weird sound. The build-up limescale and ‘sludge’ everywhere in the heating scheme is an issue that will cause various problems to your appliances and the pipework. And also, often that is the cause why the radiators have those cold spots.
The limescale increasing in the pipes close to your boiler will also make it construct gurgling sounds due to its blockage in the water flow.
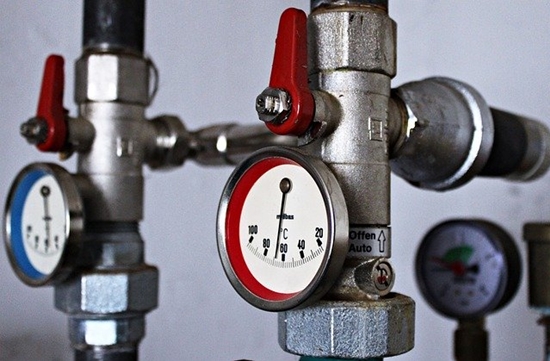
4. A faulty thermostat – if you have an old system, maybe your boiler thermostat isn’t working in the right manner. After some time, it is usually the case that a thermostat or a diverter valve has been worn out, and with most cases, the specialist must change the damaged part. Bear in mind that when the boiler is old, it can be more cost-effective to purchase the new energy-saving boilers than spending that much money on expensive repairs.
When the boiler and the thermostat are not communicating, then, you have to get the appliance inspected by the Gas Safe Engineers. They will just adjust its settings or alter the entire regulator when needed.
5. Issues with the boiler pump – The main heat pump, usually located close by the boiler itself, can be damaged. This will work through pressurizing the water, then pumping it back into the system, and at times, the procedure does not go as initially planned. The faulty boiler pump cannot be pushed quickly the water enough from the heat exchanger that will cause it in making weird sounds.
Suggested posts:
9 Reasons Why Your Boiler is Not Warming Up
Should You Turn the Boiler Off or Not When Going on Holiday?