06 Jan. 21
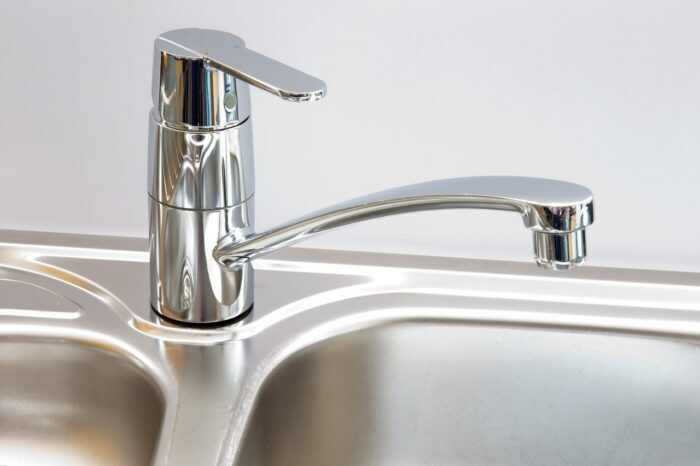
How To Change The Kitchen Tap In Simple Steps
Below is the detailed information about how you can change the kitchen tap.
Steps on how you will remove the kitchen tap
1. Turn off the supply of water
In turning off the supply of water to change the kitchen tap, you have to situate the isolating valves of the supply system of the pipe. You may locate it fitted at the hoses’ outputs. Turn the valve now with only a quarter in turning off the water. Also, try streaming the water to witness is you have turned it off correctly. If the system does not have the independent isolation valve, turn off your water supply from its main stopcock. The moment that you are 100% sure that there’ll be no circulating water, then, you may proceed to its next level.
2. Prepare an area
Lay the towel beneath the sink and then prepare every instrument you’re planning to use. When you still have the old kitchen tap manual instruction guide, keep it near. You will need to have a look of it while you’re trying to take out that old tap.
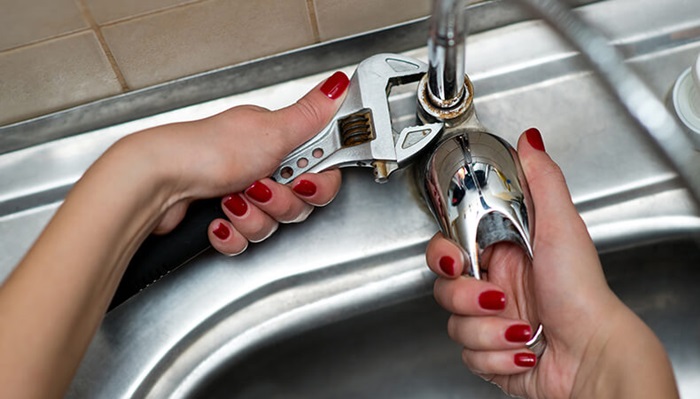
3. Discontent your tap from its main supply of water
There are 2 kinds of connections of the water pipes–flexible and standard. When you have the standard hose method, loosen up a screw which is connecting the joints to a pipe with an assistance of the open-handed spanner. Most of the water will come out the moment that you have disconnected a tap. For the flexible pipe connections, you have to unlock the nuts wherein they join its main pipe connections or the fitted isolator valves. When you are doing this, use the pair of modifiable pliers to maintain the connection or the valve into place. Take note that you can have the hard time loosening a nut, since they can get stiffed over time.
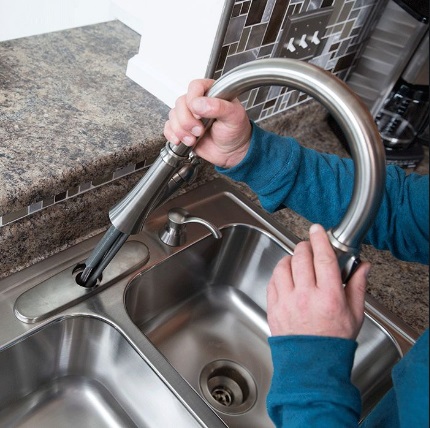
4. Take out the existing taps
It is now time to take away the tap. Start through loosening the nuts which will keep the tap connected to the facade. Grab the tap, then, secure it in place. Be sure it does not rotate as you’re trying to unscrew a nut. The thought is by taking it out from the stud, and so you may be able to detach the tap together with those flexible hoses. Be very careful when taking out the said hoses, particularly when they’re stainless steels. You do not want to hack yourself on a pointy, sharp edge. Once you have removed everything, then, take the time in cleaning any nasty residues or buildup from an open main pipe connections beneath the sink or basin.

How To Fit The Kitchen Tap
1. Clean a mounting surface
Clean your old surface where the old kitchen tap has been used to be. There are some build-ups that can be harder to take out, remove, and so have all the time. Do not use any harsh brushes or chemicals, so you do not damage the area.
2. Mount a new kitchen tap
Installing the kitchen tap has been easier than taking it out. So, if you have bought the normal individual bridge or the pillar combination one, then, you must apply about five layers of the PTFE tape into the mains link lower threads beforehand. Drape a tape in the clockwise way to secure it in the right way. The moment it is done, you may fit the new tap. Lots of models come with the pre-fitted hoses, then, if yours are not, grab a manufactures’ manual then connect them by yourself. Feed the mains link hoses by the hole you have made for the former tap. You can take someone to assist you out through holding a tap into the place. It should not rotate as you’re handling the hoses beneath the sink. Lastly, screw the retaining nuts by hand and then secure it tightly by the similar pair of bending pliers you used in removing the old unit. When you suspect that the new unit is really heavy for the sink, better install the tap brace. It is an additional, small investment that reserves lots of trouble.
3. Reconnect a mains supply
Since you are close to the final line, to reconnect the mains source, begin the threads through hand to evade cross-threading. Lots of tap units had the thread length standard together with the present connection alignment assured. And so, when you have started the thread, tightened it, but do not overdo it. Coil-in the connector nut to the pipe connections of the mains or the fitted isolator valves. And then tighten it again with the bendable open-ended spanner. Be certain when holding on to a connector or valve in eliminating the excess pressure.
4. Switch on a water supply
For that you have installed everything, it is time to switch on the supply of water. All you need to do is to adjust an isolating valve to the original position or in turning on the water coming from the stopcock. Experiment the tap by switching it on and then check the hose for drips and leaks. When all is fine – you’ve change the kitchen tap successfully!
Suggested article: